When clicking on the filename or thumbnail of an asset in the Library you are taken to single asset view.
Here you have a preview{{Asset Preview and Actions}} of the asset on the left with action buttons below, and a number of tabs{{Info, Attachments and More}} on the right showing you various pieces of information depending on file type.
Asset Preview and Actions

Beneath the asset preview you’ll either see a number of action buttons which will change depending on file type, but there are always at least three universal buttons.
Universal Buttons
![]() Download{{Working With Assets}}
Download{{Working With Assets}}
The More menu ⋮

- Send to ONE Delivery - attaches the asset to a new order in ONE Delivery (TV channels) or ONE Social (social channels)
- Add to Work Request - adds to a specific work request in the Projects module
- Copy to
- Collection - copies asset to a specific collection
- Project - copies asset to a project in the Projects module
- Presentation - copies asset to a specific Presentation
- Change Media Type - allows you to choose a new media type
- Remove - deletes the asset
PDF Buttons

Open PDF in native browser view
Zoom in and out of PDF.
QC'd Master File Buttons
For any QC'd master file, you will see the ![]() icon where you can access the Slate for the asset as well as an autogenerated, downloadable 8 frame storyboard.
icon where you can access the Slate for the asset as well as an autogenerated, downloadable 8 frame storyboard.

Carousel View
Underneath these action buttons, you can click Show more assets to open a carousel view, allowing you to quickly switch between neighbouring assets.

Info, Attachments and More
On the right-hand side of the page there are tabs showing different sets of information, depending on your permissions.
 |
Details. View and edit the essential metadata for the asset. |
 |
Usage Rights. View and manage all usage rights associated with an asset. |
 |
Attachments. View and manage asset attachments. |
 |
Destinations. View any destinations this asset has been sent to. |
 |
Relationships. View and manage any relationships between this asset and other assets or projects. |
 |
Frames{{Using Frame Grabber}}. View/download existing frames and capture new frames from a video file. |
 |
Activities. View all activities for the asset. You can search and filter by activity type or username. Simply type into the fields to search. |
Usage Rights
To add new information on usage rights, open the Usage Rights tab ![]() and then click Add.
and then click Add.
You'll then be able to choose the kind of rights to add.

You can add multiple different types of rights once you've saved the first. Click Add to repeat the process.
Adding a Global usage rights type, will allow you to manually set the asset to either be available or expired, overriding all other usage rights on the file.
To add usage rights for multiple files at once, do so from the main library assets page, highlight the assets and then use the more menu (⋮) to access the same options as described here.
Editing Metadata
When in the info tab ![]() , it is possible to edit some of the metadata of a single by clicking the pencil icon
, it is possible to edit some of the metadata of a single by clicking the pencil icon ![]() .
.
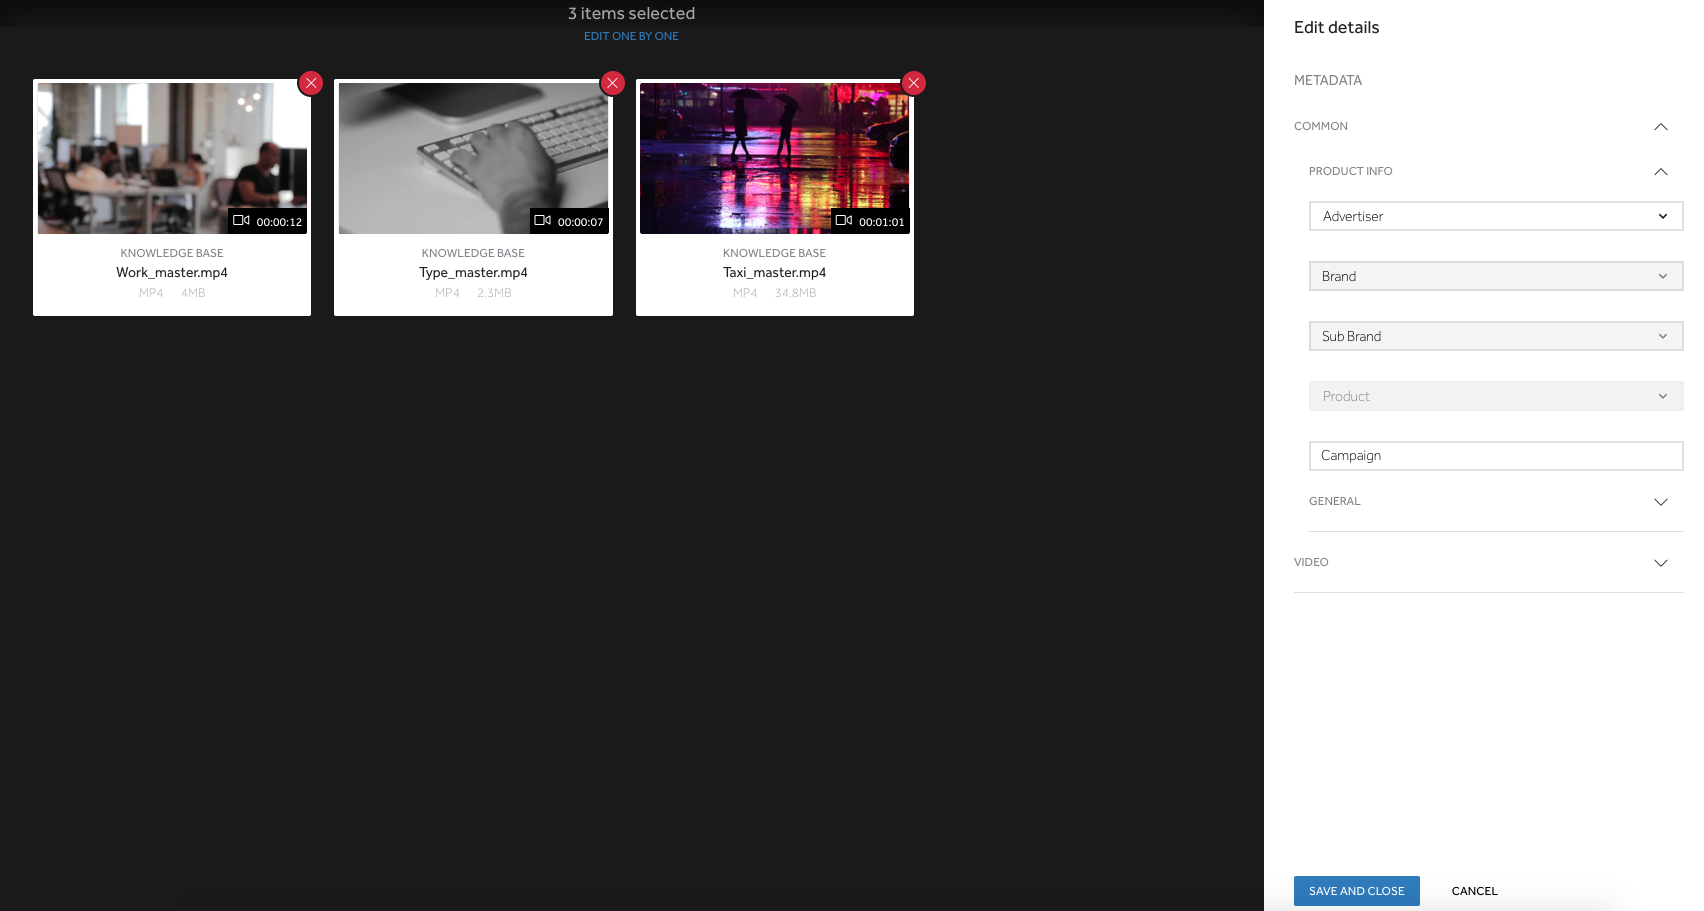
It is also possible to edit metadata for a multiple assets at once. To do so, select a group of assets on the main assets page and choose Edit from the more menu (⋮). You will see all the assets you selected and you can edit the common metadata using the dropdowns on the right hand side.

You can also click edit one by one at the top of the screen which will then show you each asset one by one. You can edit the metadata of the single asset and when you're satisfied, use the options in the bottom right hand corner to either Save and Next, Save and Close or Cancel.
