Windows Installation
- Download the app from here: http://a5.adstream.com/public/preview/ycq06omux095
- In the Downloads folder of Windows (or whichever folder you have set to be the download default) an .exe file will be downloaded.
- Double click the .exe file to run it, after which you'll see the installation window appear.
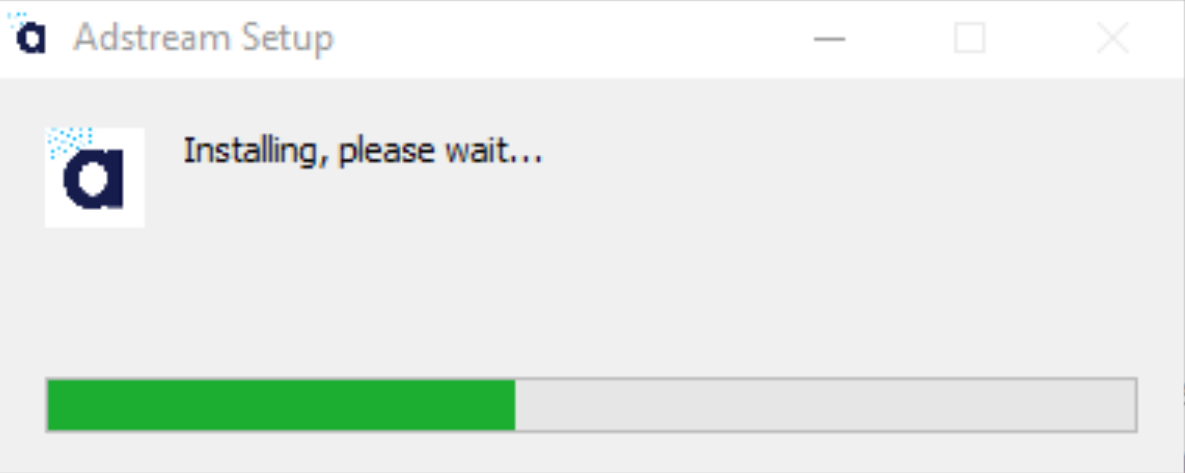
- In the next window confirm you allow the application to make changes in the system by clicking Yes. The app will then open and begin to finish the installation. If it does not, click Install Now.
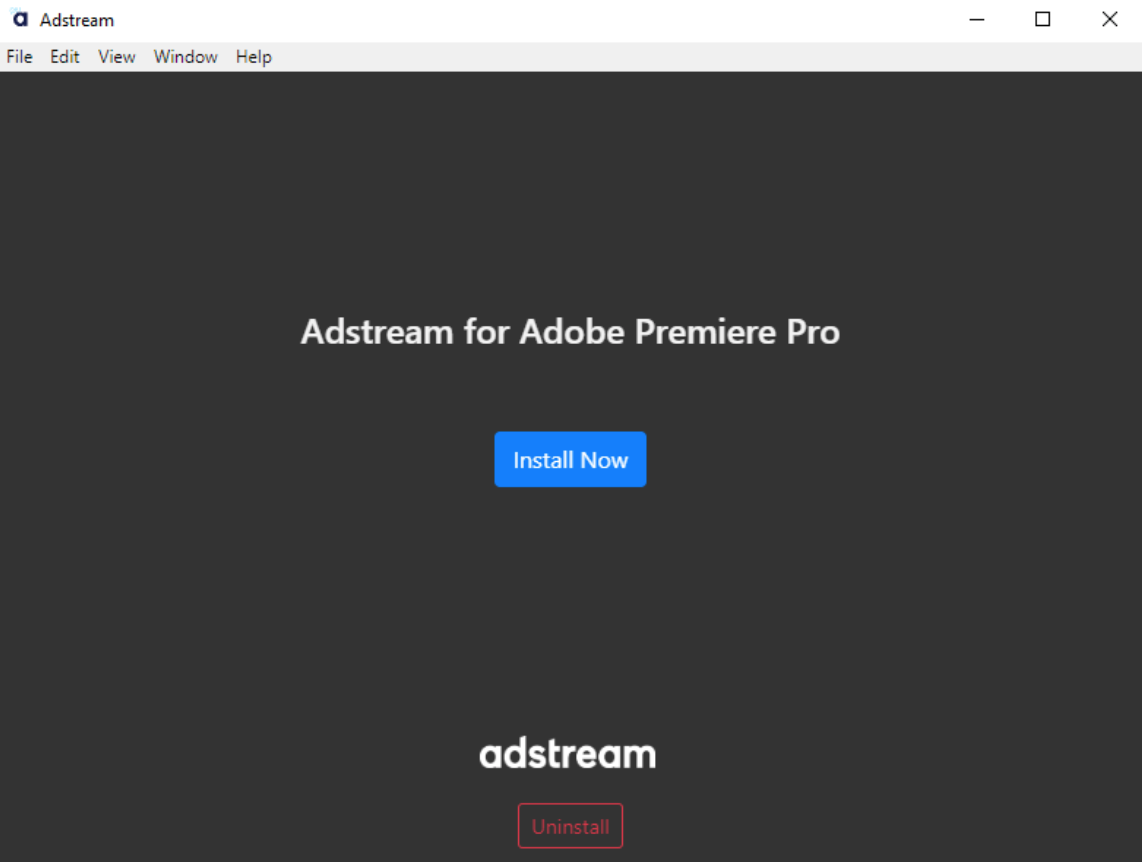
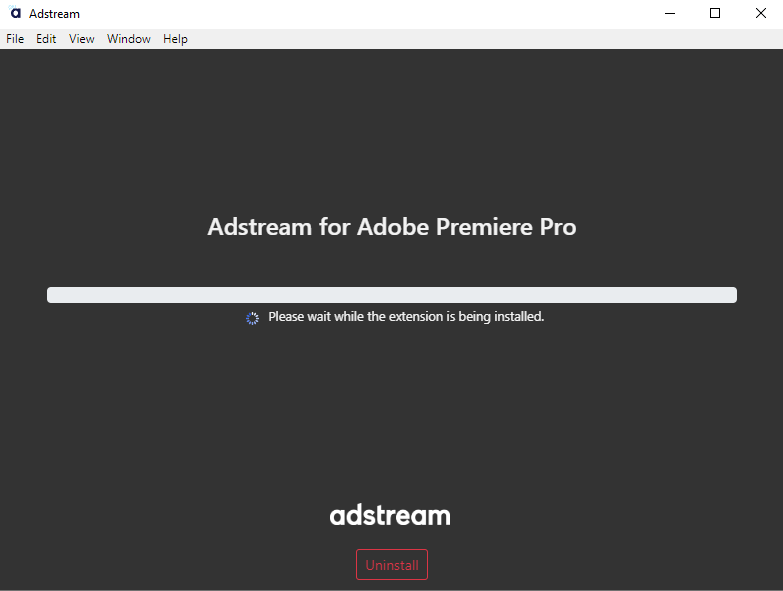
- A progress bar will appear automatically. If it doesn’t appear then Click on “Install Now” button and to start the progress like in the below snapshot-
- After the progress is complete it gives a pop up like in the below snapshot-
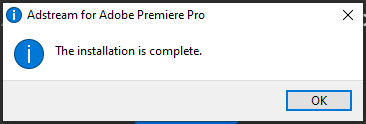
- Congratulations! The installation of Adstream for Adobe Premiere Pro is complete. You can go to the Control Panel and notice that the application is present.
- After successful installation of Adstream for Adobe Premiere Pro the application will appear in your Control Panel.

Now open Adobe Premiere Pro and create a project.
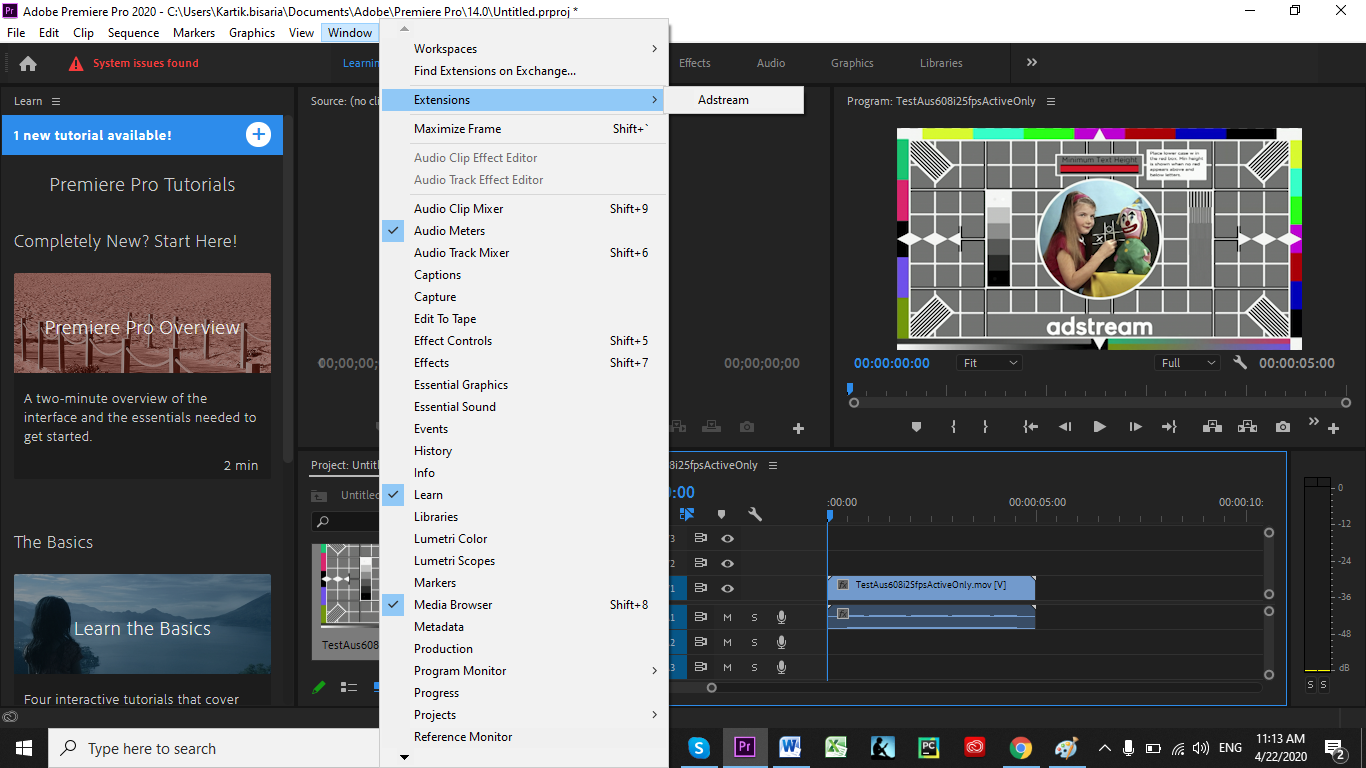
In the created project add a video into the timeline. You will find the Adstream extension in Window > Extensions > Adstream.
Windows Uninstall
To uninstall the app, open the .exe file from the installation and in the following popup, confirm you allow the application to make changes in the system by clicking Yes.
In the window that opens, click Uninstall and follow the onscreen prompts to continue the installation.
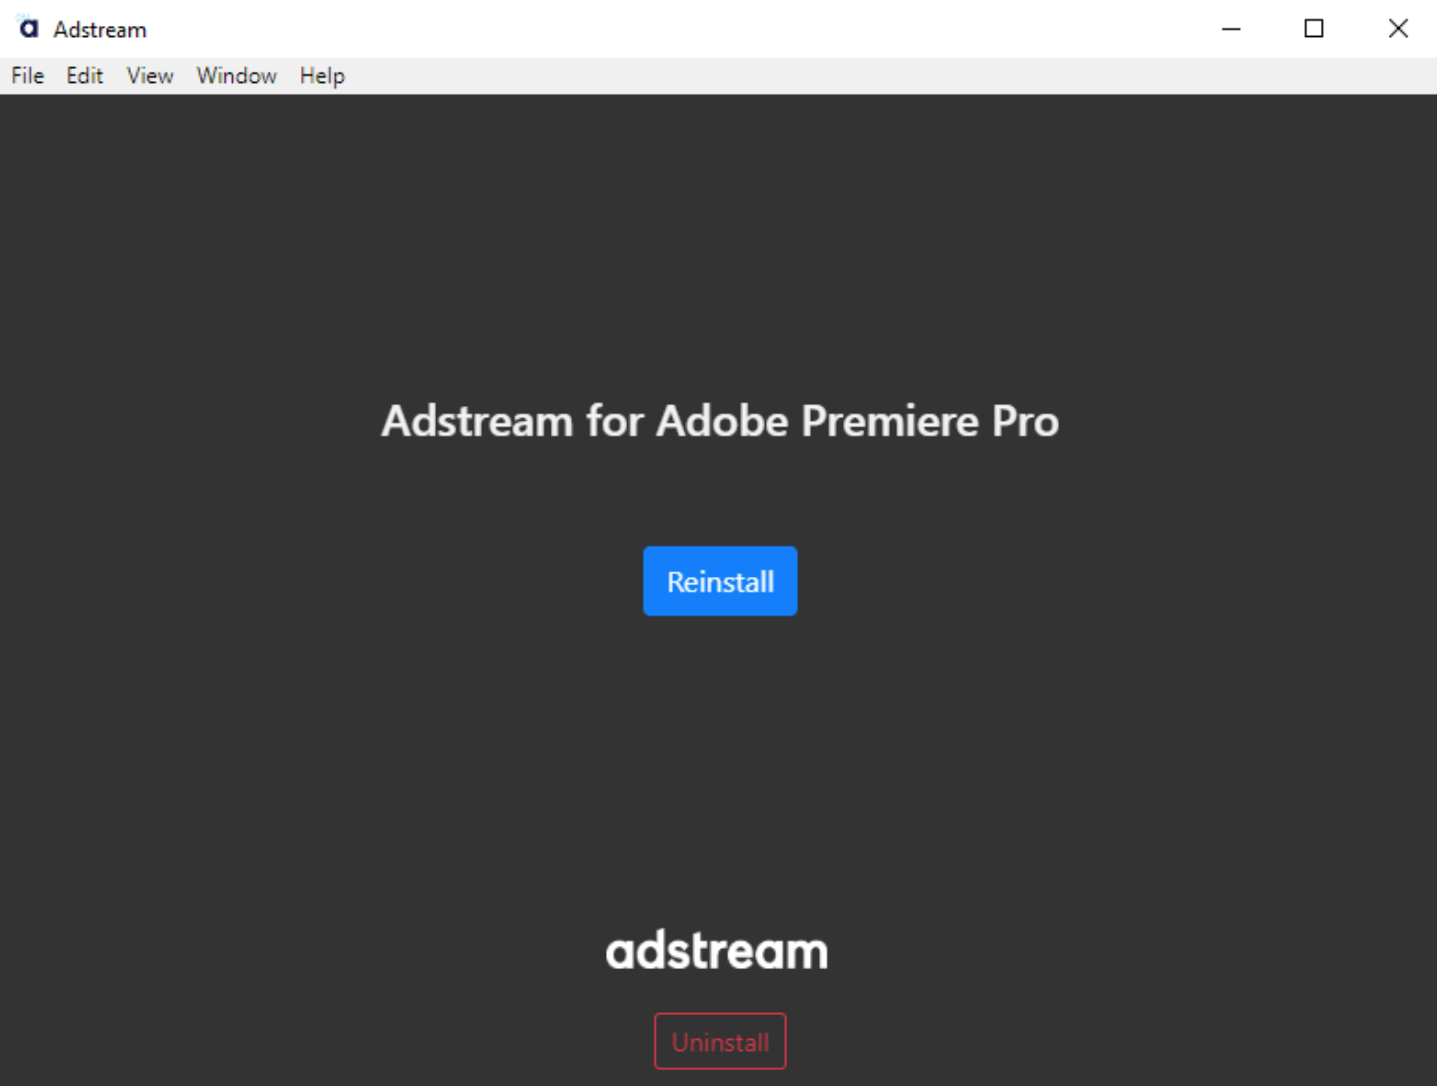
To reinstall the application, follow the steps above in the installation section.