The Adstream Address Book allows you to store contact details, so that when sharing files or presentations with other colleagues/clients on a regular basis, rather than entering the full email address each time, you simply add the new contact into the Address Book and the system will auto complete your entry.

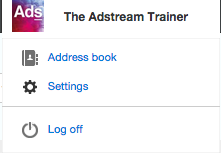
To get to the Address Book click on your user name in the top right of the interface and then click Address Book.
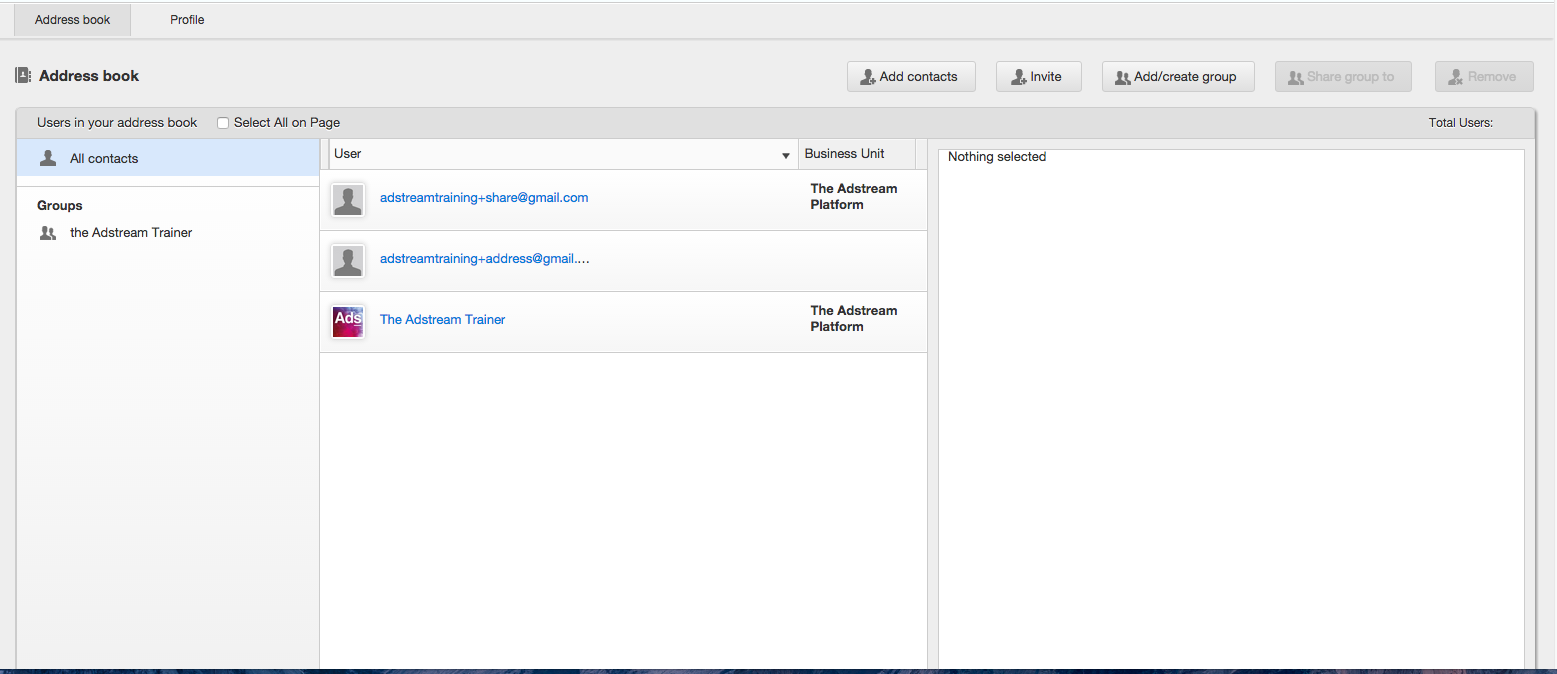
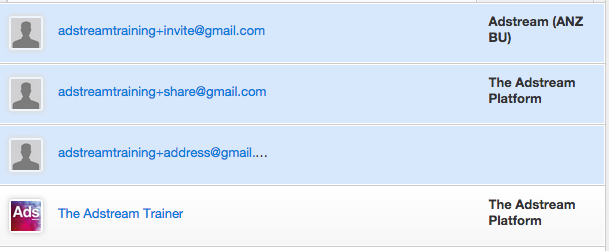
The Address Book will already be populated with any users you have interacted with on the Adstream Platform. If you regularly share your assets or Projects with the same groups of people you can arrange your address book into groups to make this easier in the future.
Viewing and Ammending Contact information
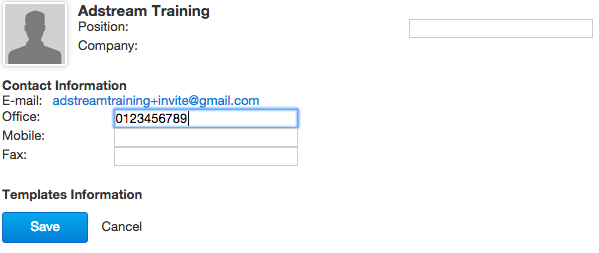 To view a contact, simply click on their name and their details will appear in a panel to the right. Clicking edit will allow you to change some of that user’s details such as position and phone number.
N.B. This will not affect the global address book, only you will be able to see the edits
Adding Contacts
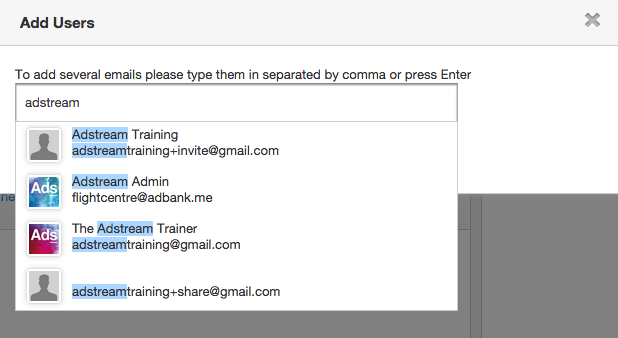 To add a user who is using the Adstream Platform to your contacts first click on the Add Contacts button. This will open a new window from here you can type the name or email address of the person you want to add. When you see the person you want to add simply click their name. The user's email will appear in a blue bubble and you can use the same process to add as many contacts as you wish. When you’re done click Add. You can invite users who aren’t registered on the Adstream Platform by clicking invite from the address book and using the same process. The people you add will receive an email inviting them to register as a user.
Removing Contacts
To remove one or more contacts select the contacts you want to remove by hovering over that row and clicking on it, you’ll see that this row now turns blue. Then simply click remove in the top right.
Adding Contacts to a Group
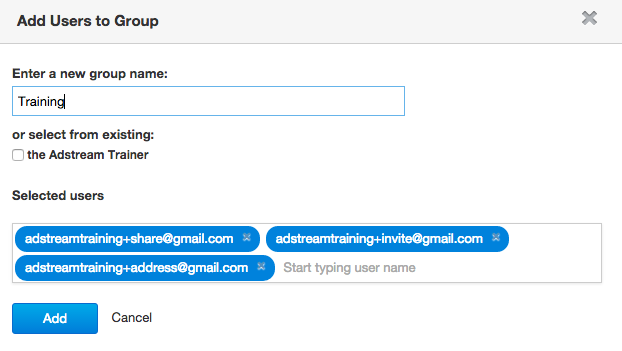 Select the contacts you want to add to a group and then click Add/create group. A new window will open and from here tick the checkbox next to the name of the group or groups you want to add the selected contacts to. Alternatively, to create a new group type a name for the group in the top text field. If you’ve forgotten to add a contact then you can just type another user name in the bottom text field. When you’re done click Add. The new group will appear in the sidebar. You can quickly share projects with the groups you have set up.