Introduction
The Delivery module allows you to send ads around the world and, before your files get to where they need to be, we check them against regional specifications for over 116 countries, making sure ad content is delivered to the highest possible quality standards, guaranteed. This article will describe in detail how to create an order for an ad delivery on The Adstream Platform. If you’re already familiar with orders you may want to watch our Creating an Order video which provides a quick overview of the new system.
When logged into The Adstream Platform you can see all the modules available in the bar at the top of the screen, including Delivery.
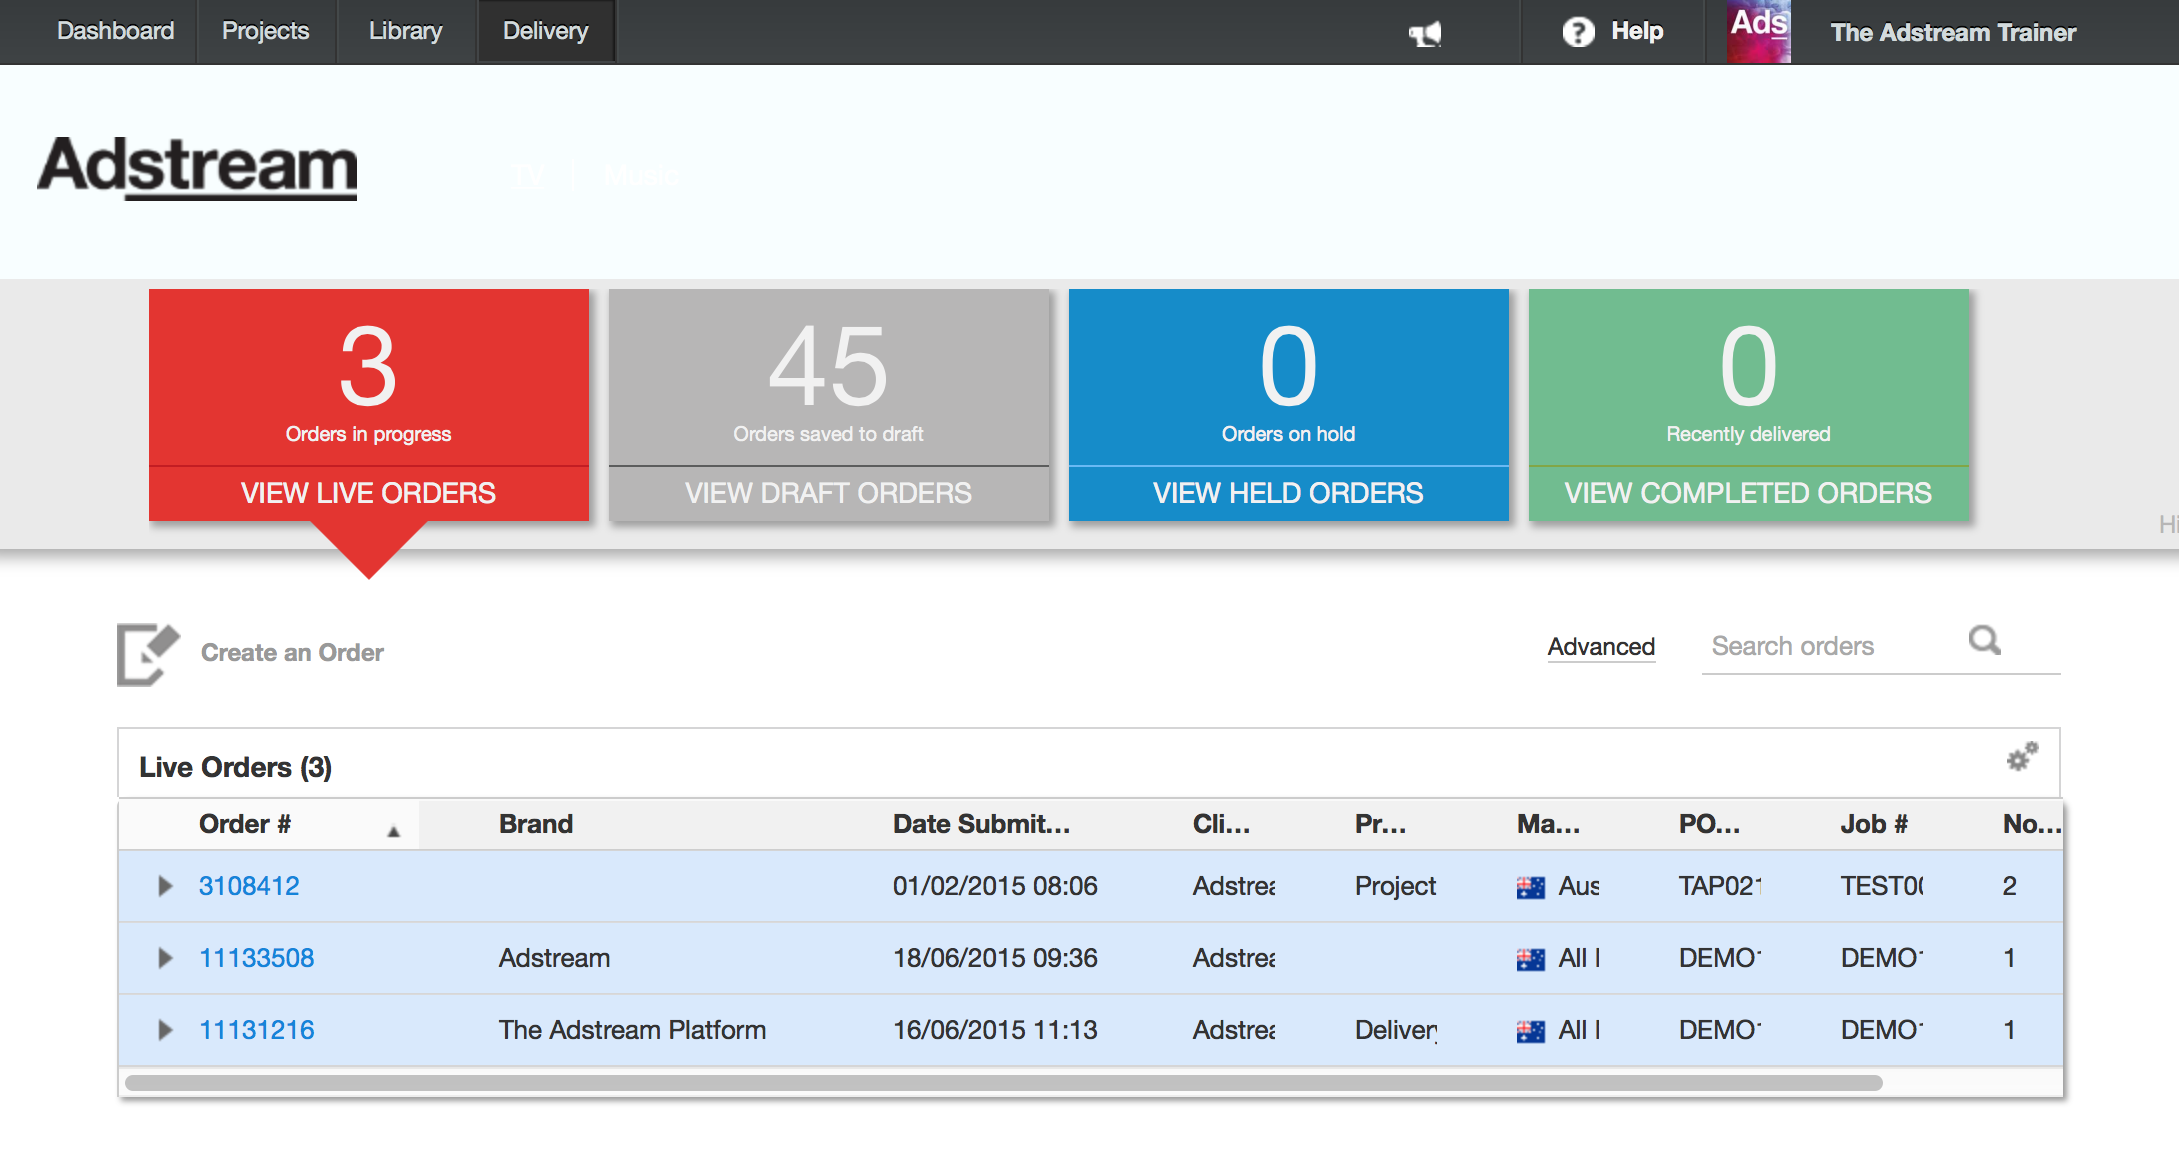
Here you can see all your live orders and you can click on the different tabs to see draft, held and completed orders. For more information see Deliveries - Overview.
Setting up a new Order
To get started click Create an Order ![]() . From here you can add all the information about your order each of the
. From here you can add all the information about your order each of the ![]() shows a section you can click on to add information.
shows a section you can click on to add information.

Starting at the top you can select a Market by clicking on the flag icon. This will open a new window and from the dropdown list you can choose your required Market.
Adding media
You can add media in three ways either via a new master, or if it is already stored in The Adstream Platform then you can supply it from your library or projects module.
From a new master
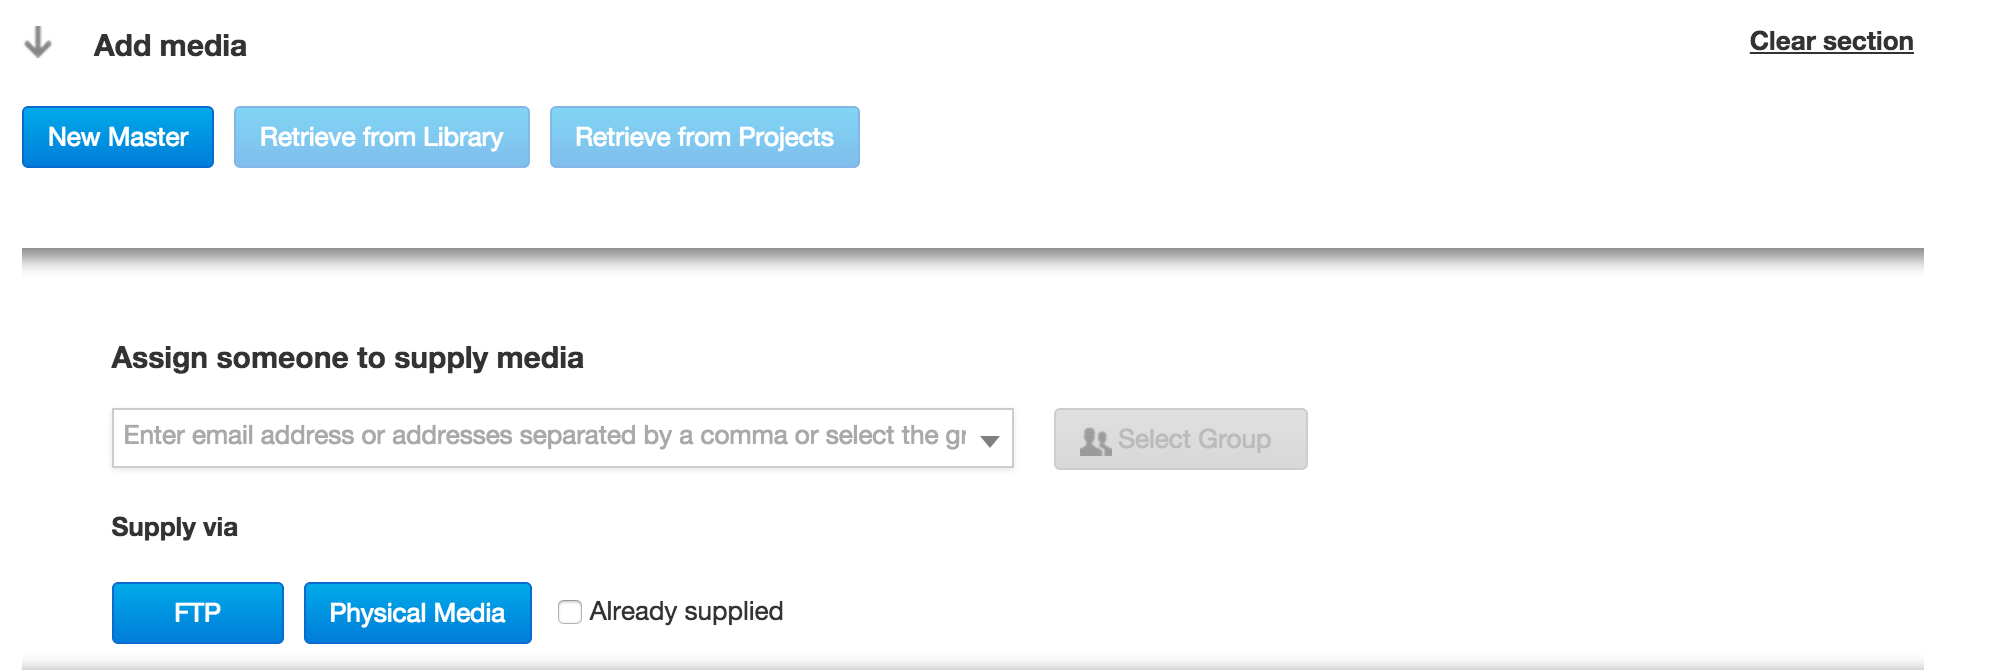
When you open the Add Media section you will be presented with the three options. New Master allows you to enter the email address of the person supplying the media and whether they will submit it electronically through FTP or via physical media. You can add a message for the supplier and a deadline date.
From the Library Module
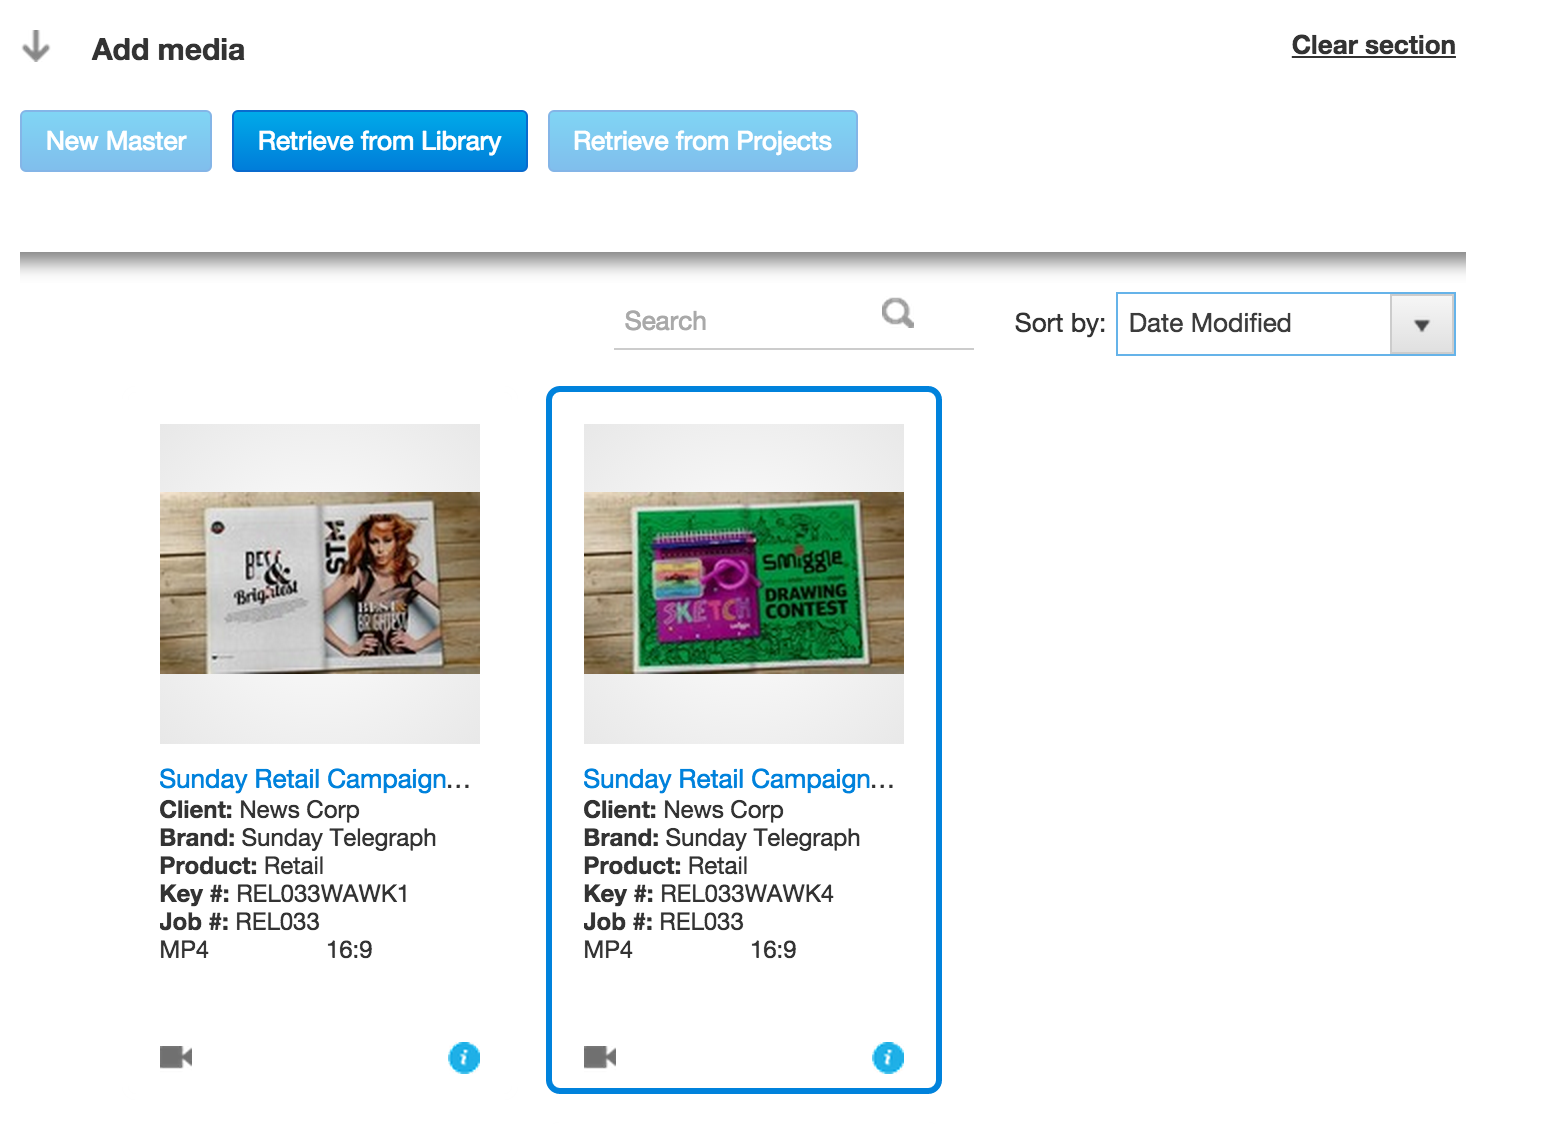
If you have access to the Library module of The Adstream Platform then you can add media directly from here. Clicking on Retrieve from Library will give you access to your Library collections, you can then navigate through the collections to the desired asset. You can use the search function to search within each collection. Click on all the assets you want to add and then click Add to Order.
From the Projects Module
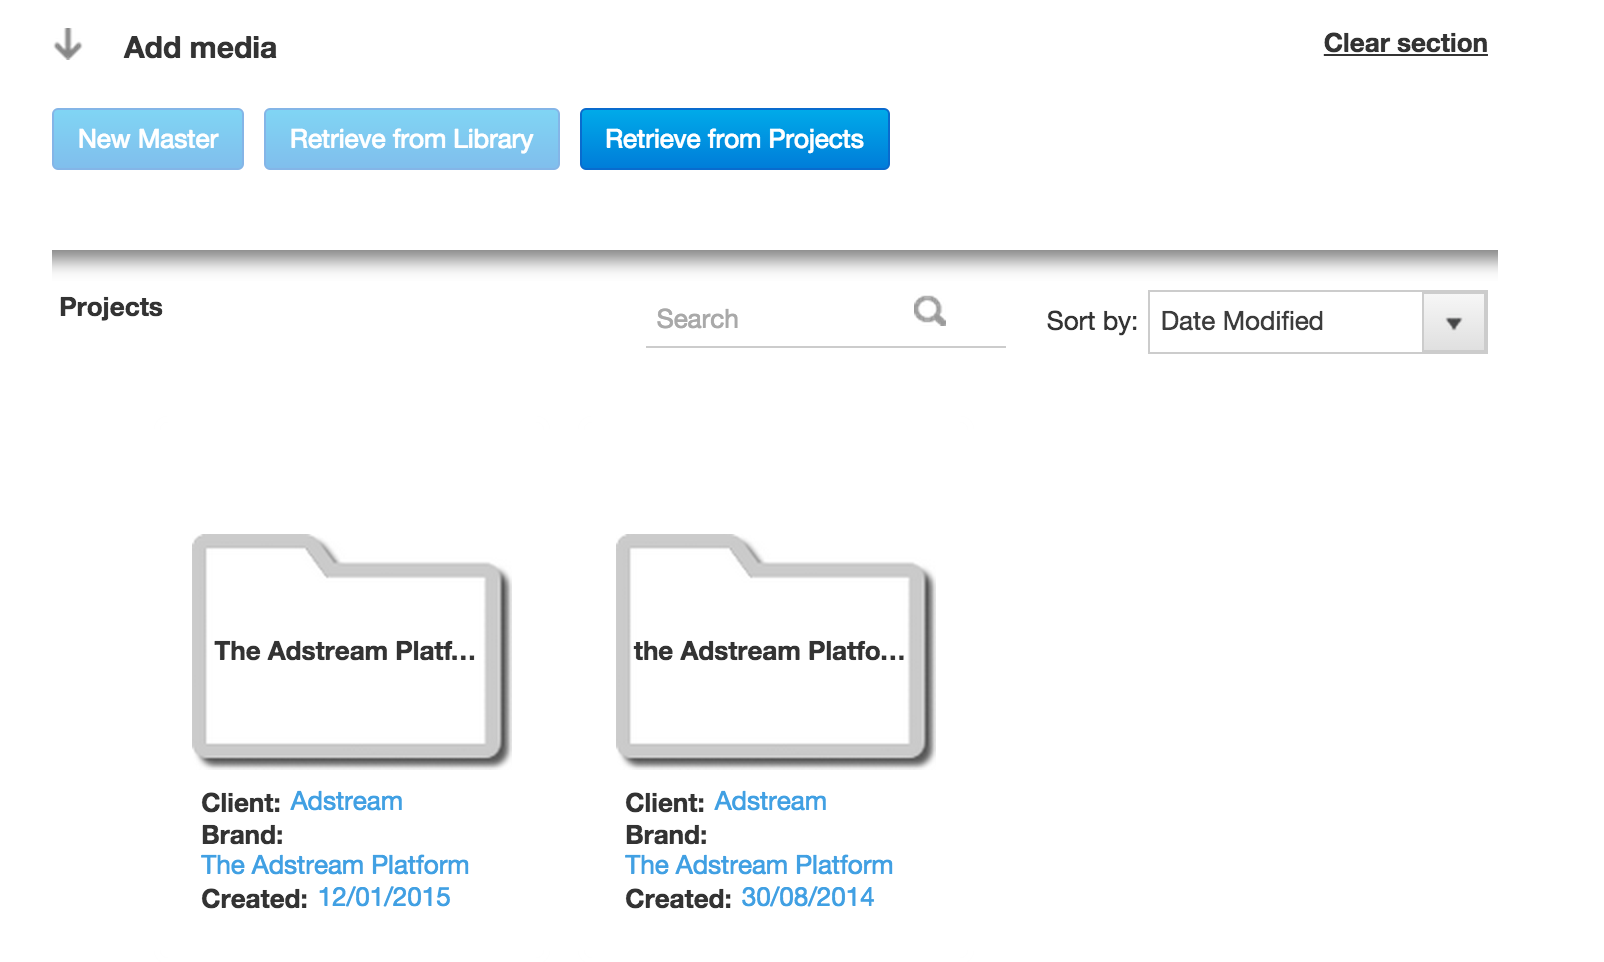
If you have access to the Projects module of The Adstream Platform then you can add media directly from here. Clicking on Retrieve from Projects will give you access to your Projects’ folder structure, you can then navigate through the folders to the desired Media. You can use the search function to search within each folder. Click on all the media items you want to add and then click Add to Order.
Once the media is available a preview will show at the top of the create an order form, if the order needs to be approved before it goes live click Hold for approval.
Adding Information
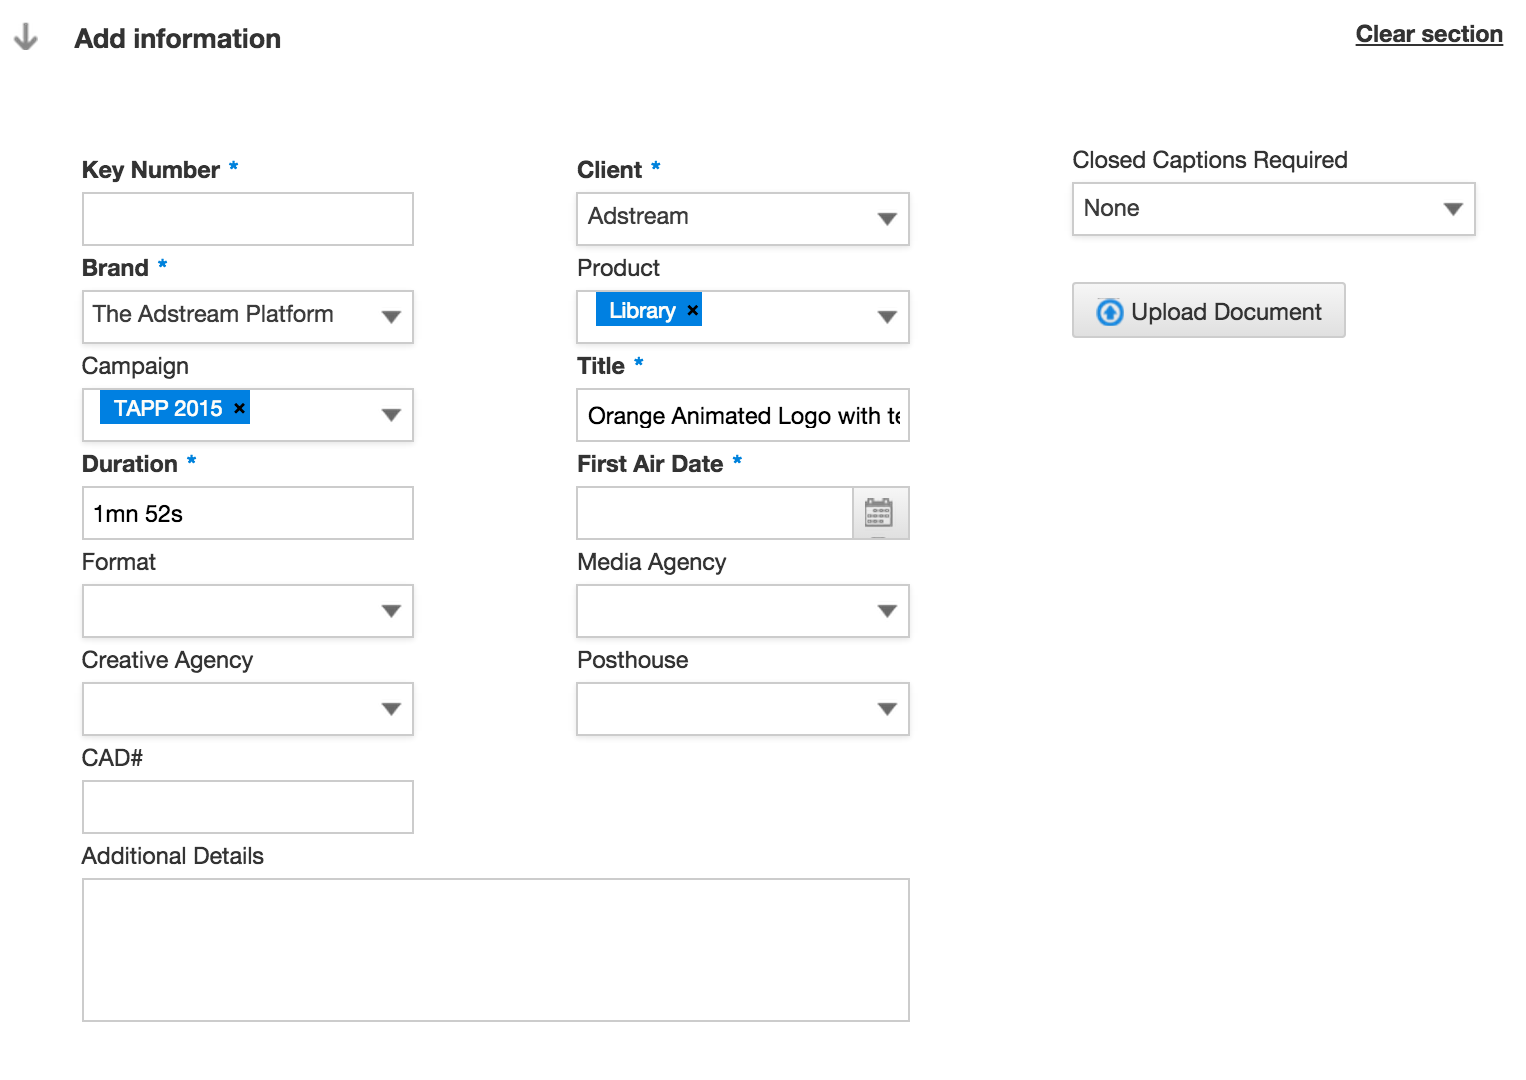
Here you add the associated metadata to your advert. The fields with an * have to be filled in and any with a disclosure triangle allow you to choose from a list.
You can use the closed captions required dropdown to request these. The Upload document button beneath this dropdown refers specifically to closed captions. When you click this a new window will open in which you can drag and drop the document you want to upload from your computer. If you’ve made a mistake you can use the X to remove the document from the files to be uploaded. Once you’ve got the document you need in the list click Start Upload.
Usage Rights

You can add multiple usage rights information to your advert. Use the dropdown list to select the usage rights you want to add and then click the + button. This article uses Countries as an example but the process is the same with the other usage rights.
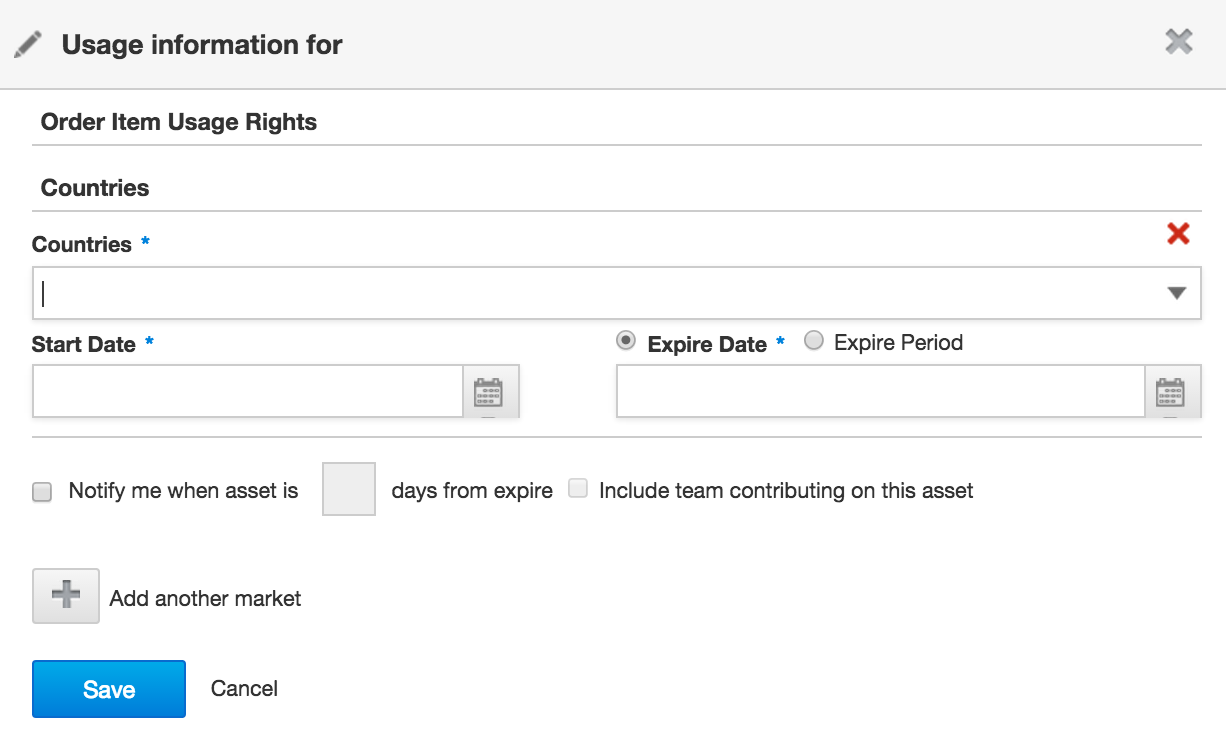
You can choose to set a specific date or a period of time and below this you can choose when to get notified and include your team on the notification. Using the plus you can add as many markets as you need.
Broadcast Destinations
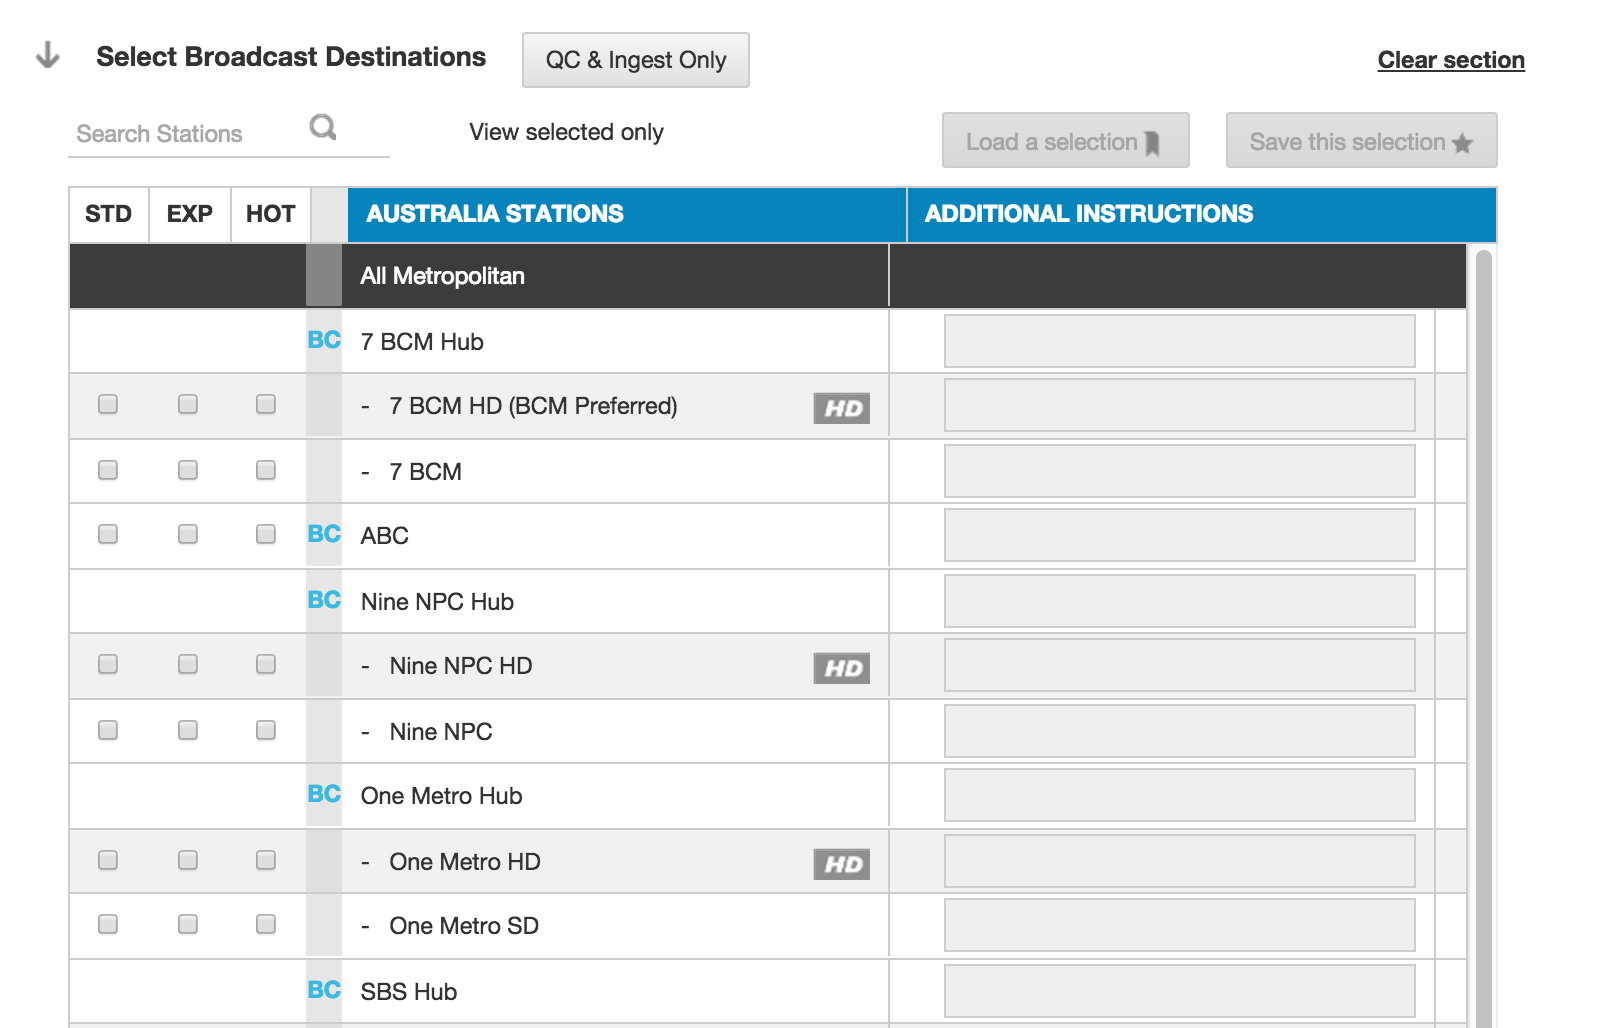
Here you’ll see a list of all the available broadcasters based on the market you selected at the start. Each row lists a broadcaster and you can tick one of the three boxes to the left on the corresponding row to select the SLA you require for that broadcaster. On the right you can add additonal instructions for that specific broadcaster.
If you often deliver to the same group of broadcasters then at the top right you can Save this selection a new window will appear and you can give your selection a name. In the future you can then Load a selection.
You can also choose to send the advert for QC and Ingest Only, once it has passed this stage it will be available to retreive from your Library.
Additional Services
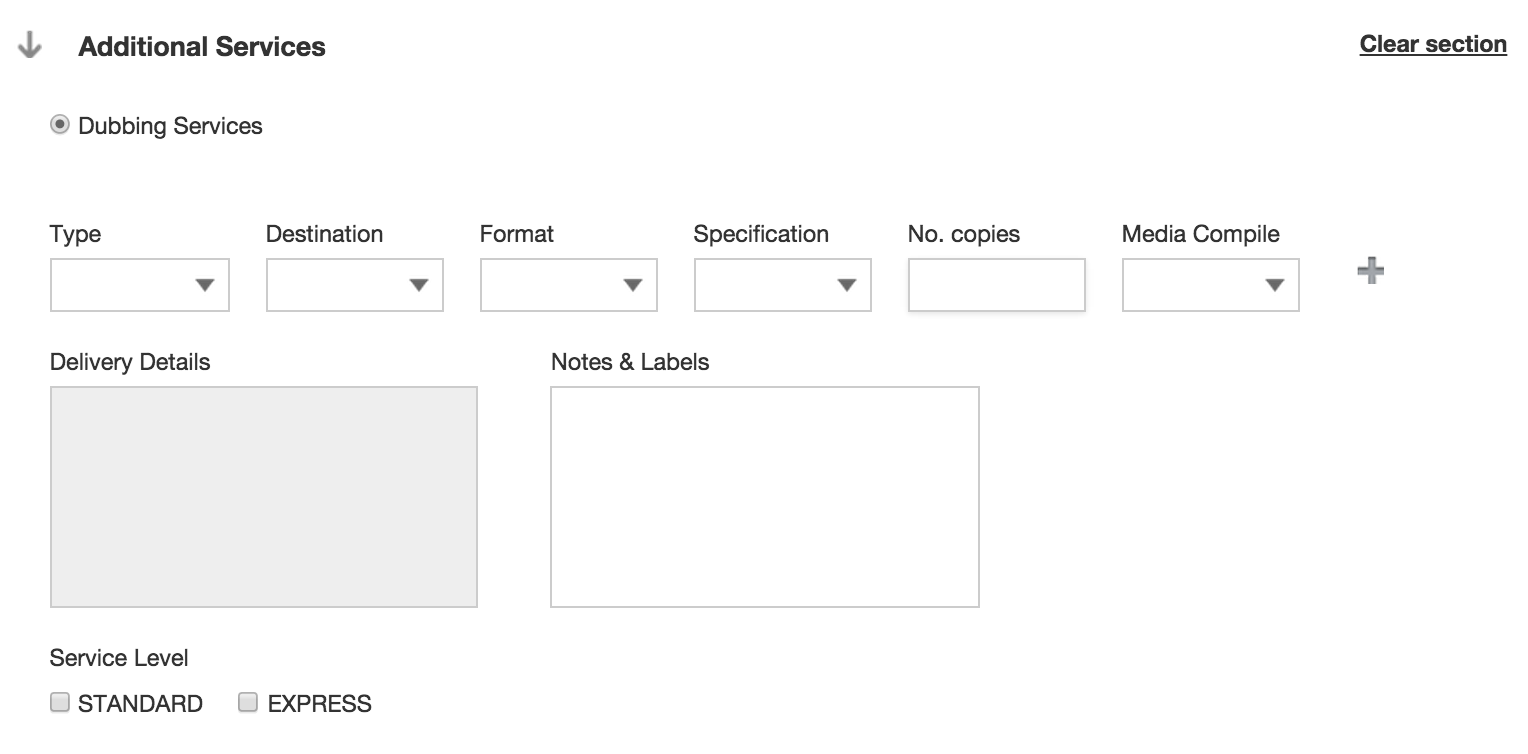
The Additional Services section is where you can request dubbing and production services. Fill out the information as required you can use the + button to add as many services as you need.
Finally
When you’ve finsihed setting up the order you can, using the buttons at the bottom of the Create an order screen either: Save as Draft for submission later; Transfer Order to another Adstream user for them to process; or Proceed to go to the Order Summary{{Order Summary}} screen, where you can review the order before submitting it including the billing information.